Showing posts with label Lemons. Show all posts

Tuesday, 1 October 2013

Revisiting Preserves: Kim Chi and Preserved Lemons

So I was recently faced with two horrible pickling setbacks.

Firstly, I ran out of kimchi.  Despite my girlfriend rejoicing at the lack of fermented cabbage stinking out our fridge, I was devastated.  I had received quite a few requests for samples and this depleted my supplies.

Secondly, I made some bad cocktails (#cocktailFAIL).  I'd come across a cool recipe online for preserved lemon Martinis, which I tested out using the batch I'd made a few months ago.  The only problem was that in my first batch of preserved lemons I'd sealed the top of the jar with some olive oil.  The thing to note here is that oil is not a key ingredient of a Martini - I've never had a beverage that could be described as 'greasy' until that Martini experiment.  So in light of these two setbacks, I decided to reattempt both of these preserves.  

Preserved Lemons


When I made preserved lemons earlier this year, I was pleased with the results, but I had a feeling they could taste better with one key variation to the method.  

A few weeks ago, I had lunch at my folks' place.  It was a beautiful sunny day so we had lunch under the verandah outside.  While gorging myself on my mum's delicious roast pork with the Father's Day Relish I had made that weekend, I noticed that the citrus trees all over the backyard were abundant with fruit.  I picked lots of kumquats, but also got a decent stash of lemons.  

So I decided to remake some preserved lemons, this time improvising with my own recipe.  Previously I followed a recipe on the SBS website, which called for submerging the lemons in boiling water.  While most of the recipes I saw in my research called for immersing the lemons in lemon juice, I didn't have enough lemons to do this, so I went with the alternative boiling water method.  The extra lemon juice obviously enhances the preservation of the lemons, because of the higher level of acid, and also leads to a more intense lemony flavour.   

I haven't yet tried to use my new extra-lemony batch in my cooking but I'll keep you all posted on how they turn out.  I'll also write a post about the preserved lemon Martinis when I get a chance to make them.


Recipe

What you need:

  • 10 lemons;
  • Maldon Sea Salt;
  • 500ml jar;
  • 3 birdseye chillies, sliced in half;
  • A few sprigs of rosemary.
The preserving:
  1. Cut each lemon from one pointy end of the lemon, to about 3cms from the other pointy end, so that the two sides of the lemon still hold together.  Then cut it in the same way so they are essentially in quarters that are still held together at one end. Do this for 6 lemons, leaving the other 4 aside.  
  2. Stuff one heaped tablespoon of sea salt into each lemon.
  3. Cram all of the lemons into the jar.  Stuff in the chillies and the rosemary in as you go so there's an even distribution.  
  4. Sprinkle in a bit of salt over the top of the jar for good measure.  Juice the remaining four lemons, and pour the juice into the jar so all the salted lemons are completely submerged.
  5. Leave in a cold dark place for one month before using them. 

Kimchi


This Korean preserve is meant to be pretty funky and not in the Saturday Night Fever sense of the word  - fermented cabbage has a really pungent smell.  For my first attempt at kimchi I used a recipe by David Chang from an issue of the Lucky Peach magazine.  He recommended leaving the kimchi for a week before using it, and added in a lot of fish sauce and Korean salted brine shrimp, all leading to maximum funkiness.  While this might not be some people's cup of tea, I thought the pungent and intense taste was still pretty delicious.  I had also made a fair bit of kimchi in this first batch and set aside a huge jar for myself, so I didn't quite get to go through it before it started getting mouldy.  

This time, I turned to another Asian American chef, Edward Lee, and a recipe in his excellent book Smoke and Pickles.  A key difference between Chang and Lee's recipe is that Lee adds daikon into the mix.  I'd been using daikon radish quite a lot in my preserves over winter, so it was easy for me to add this into the kimchi too.

Lee soaks the cabbage for only 2 hours in a salt brine, while Chang soaks his overnight (that being said, Chang's brine uses much less salt than Lee's). Whether or not this actually makes the cabbage less salty or draws out less water than if the cabbage was left overnight is questionable.

Another key difference between the Kim Chi recipes is that Lee makes a paste using water, rice flour and sugar to make the sauce thicker (see picture below).  He approaches his Kim Chi recipes in a three phase process - the Cabbage, the Paste and the Guts.  Finally, Lee pairs back on some of the fishy ingredients, making it slightly less intense.  


After trying both, I think I prefer Lee's recipe.  It's a bit more balanced and a better accompaniment to food than Chang's, which can overpower the flavour of the food  you're having it with (but it's still pretty good on its own).  

I adapted Lee's Kim Chi recipe so it would be easier to make in my tiny kitchen. I blitzed some of the ingredients together in a food processor instead of pre-grating or crushing them.  I also decided to use savoy cabbage instead of chinese cabbage as an experiment - seemed to me that the thicker savoy cabbage might hold the crunch better than chinese cabbage, and after tasting the end result, I think I was right.    I also included a heaped tablespoon of brine shrimp, which isn't called for in Lee's recipe, but which added some depth of flavour and an enhanced umami taste.

Note:  Beware of exploding kimchi jars.  I left mine out on my kitchen bench overnight and in the morning I returned to this carnage - kimchi juice everywhere!  


Recipe

What you need:
  • 1 head of savoy cabbage;
  • 1 cup of rock salt;
  • 3/4 cup of rice flour;
  • 1/4 cup of sugar
  • 2 onions, sliced thinly;
  • 2 1/2 cups of Kochukaru (korean chilli flakes);
  • 250g of daikon radish cut into pieces;
  • A thumb sized piece of ginger, cut into small pieces;
  • 6 cloves of garlic;
  • 1/3 cup of fish sauce;
  • 2 handfuls of chopped spring onions.
The preserving:
  1. Slice up the cabbage into bite sized pieces that will fit into your jars nicely.  
  2. Dissolve the cup of salt into around 500ml of water (enough to submerge your cabbage in a large bowl, just add extra if needed).  Then add the cabbage into the bowl and make sure it's covered by the brine.  Soak for two hours.
  3. Drain the cabbage and rinse off any excess salt, then set aside.
  4. Next, make the paste.  Add the water, rice flour and sugar into a pot and bring it to a simmer until the mixture thickens to a paste.  Allow this to cool.
  5. Set up a blender or food processor.  Add in the chilli flakes, onions, daikon, garlic, ginger, fish sauce and brine shrimp into the processor and blitz until it's completely mixed in a thick paste. 
  6. Pour the red processed paste into the white rice flour paste (which has cooled), and mix until combined.  Add in the chopped spring onions and stir to combine.
  7. Finally, mix all of this with the cabbage.  Add into sterilised, air-tight containers.  Leave these out  on a bench for a day (no longer than a day and a half) and then refrigerate.  
  8. The Kim Chi will be ready to eat in another three days.  


Monday, 15 July 2013

Lemon and Lime-oncello with a hint of Eurovision


I was having dinner one night with some close friends who live across the road from us.  I'd heard good things about Vacanza in the Hills Pizzeria in Surry Hills so we decided to check it out.  The pizza was fantastic.  Probably the best pizza I've had in Sydney (which I know is a big call, but having tried some of the other places in the area like Lucio Pizzeria and Pizza Mario, I think Vacanza takes the cake - or takes the nutella calzone and tiramisu desserts which were on the menu).


We had almost finished our pizzas when we realised that we hadn't received one of the other charcuterie dishes - a mortadella special.


The process killed one of our peelers...
Eventually it arrived, and the waiter was really apologetic.  At the end of the meal, he brought out a tray of  limoncello shots to make up for the lateness of the mortadella.   The limoncello was excellent and turned out to be a bit of a highlight of the meal.  It was really smooth and extremely lemony, without the harshness of some of the other limoncellos I've had.


Sipping on the bright yellow liquer, my mate (who brews his own beer) raised the question of whether we could actually make our own limoncello.  Coincidentally he and The Darling Baker had quite a few limes lying around that needed using, and we couldn't think of any reason why limes couldn't be added into the mix, so we decided to concoct a Lemon AND Lime-oncello as a bit of an experiment.


While you'd think the most important ingredient in limoncello is the citrus, I'd say the most important ingredient is actually the alcohol.  The stronger the alcohol, the more of the lemon flavour and colour is extracted. Many American recipes ask for a spirit called Everclear, which is a grain alcohol that is close to 100% alcohol, but we couldn't find anywhere in Sydney that stocked it and we didn't want to go to the expense of shipping it out from the USA.


My mate did some research and found out that you could actually purchase a 95% grain alcohol from Dan Murphy's called Rectified Spirit.  The stuff is actually from Poland, and is so potent that you have to ask for it at the counter because they keep it locked up in a cabinet.  The bottle is labelled with the Polish words "SPIRYTUS RECTYFICOWANY" which made us slightly concerned about how strong it would be and whether it would taste any good.  It comes in a small 500ml bottle with a price tag of $58.99, so we decided that it wasn't very cost effective for us to only use the rectified spirit to make the limoncello.  Also, we thought it would be prudent to add some vodka into the mix too, as a way of possibly taking the harsh edge off the rectified spirit.


The process involves a fair bit of patience.  It's time consuming grating or peeling off all of the rind from the fruit.  We did this while watching the Eurovision song contest on SBS.  I definitely think the cheesy songs, unnecessary fireworks, and over the top costumes/strange haircuts (see below) really enhanced the flavour of the limoncello in the end.


The other annoying part of making limoncello is that you have to wait three or four weeks until the alcohol has extracted all of the flavour from the rind.

So did the experiment pay off?  Yes, most definitely - it was worth the effort and patience. The end result was really tasty and extremely lemony.  I couldn't distinguish the lime flavour from the lemon, but I'd say you would be able to tell the difference if you compared our batch to one without limes.  We filled some old bottles up with our concoction and now they're perched on my book shelf, ready for a quiet nightcap, or a lemon fuelled rampage.


Lemon & Lime-oncello

What you need
  • 30 limes;
  • 10 lemons;
  • 500 ml of Rectified Spirit;
  • 700 ml of good quality vodka;
  • 1750 ml of sugar syrup made from 2/3 cup of sugar to every cup of water;
  • Coffee filters.  
What happens next:
  1. Before you can grate or peel off the lemon/lime rind, you need to remove any wax that would have been used to preserve the fruit.  You can do this by dropping the fruit into boiling water for 30 seconds.  When we tried it, we may have left our fruit in the boiling water for too long, as the fruit turned out a bit soft.  This just makes it slightly more difficult to grate.
  2. Grate or peel off the rind from the lemons and limes, ensuring that you try to minimise the amount of the white pith which apparently makes the limoncello bitter.  It's a good idea to use good quality peelers or graters - one of my flimsy peelers was completely annihilated in the process.
  3. Put all of the rind into a large jar that can hold 1200ml of alcohol.  Then pour all of the rectified spirit and vodka over it.  Note:  Do this step away from open flames.   
  4. Seal the jar up tightly and leave in a cool, dark place for 3-4 weeks, or until all of the yellow colour has come off the rind and the rind is pretty much white in colour.  
  5. Then, four weeks later, brew up a sugar syrup, with two thirds of a cup of sugar to every cup of water.   You need around 1750mls of sugar syrup to dilute the limoncello's alcohol percentage down to a palatable level of 25% alcohol.  This is around 4 and two-thirds cups of sugar.  You can dissolve the sugar into the water over the stove, but allow it to cool before adding it to the alcohol solution.
  6. You then need to strain the alcohol that has been soaking in the rind through the coffee filters.  This takes quite a while, as you could imagine, and you need to keep changing the coffee filters regularly because, as we found out, they tend to break.  But this removes all of the rind and stops it from being gritty or cloudy.  
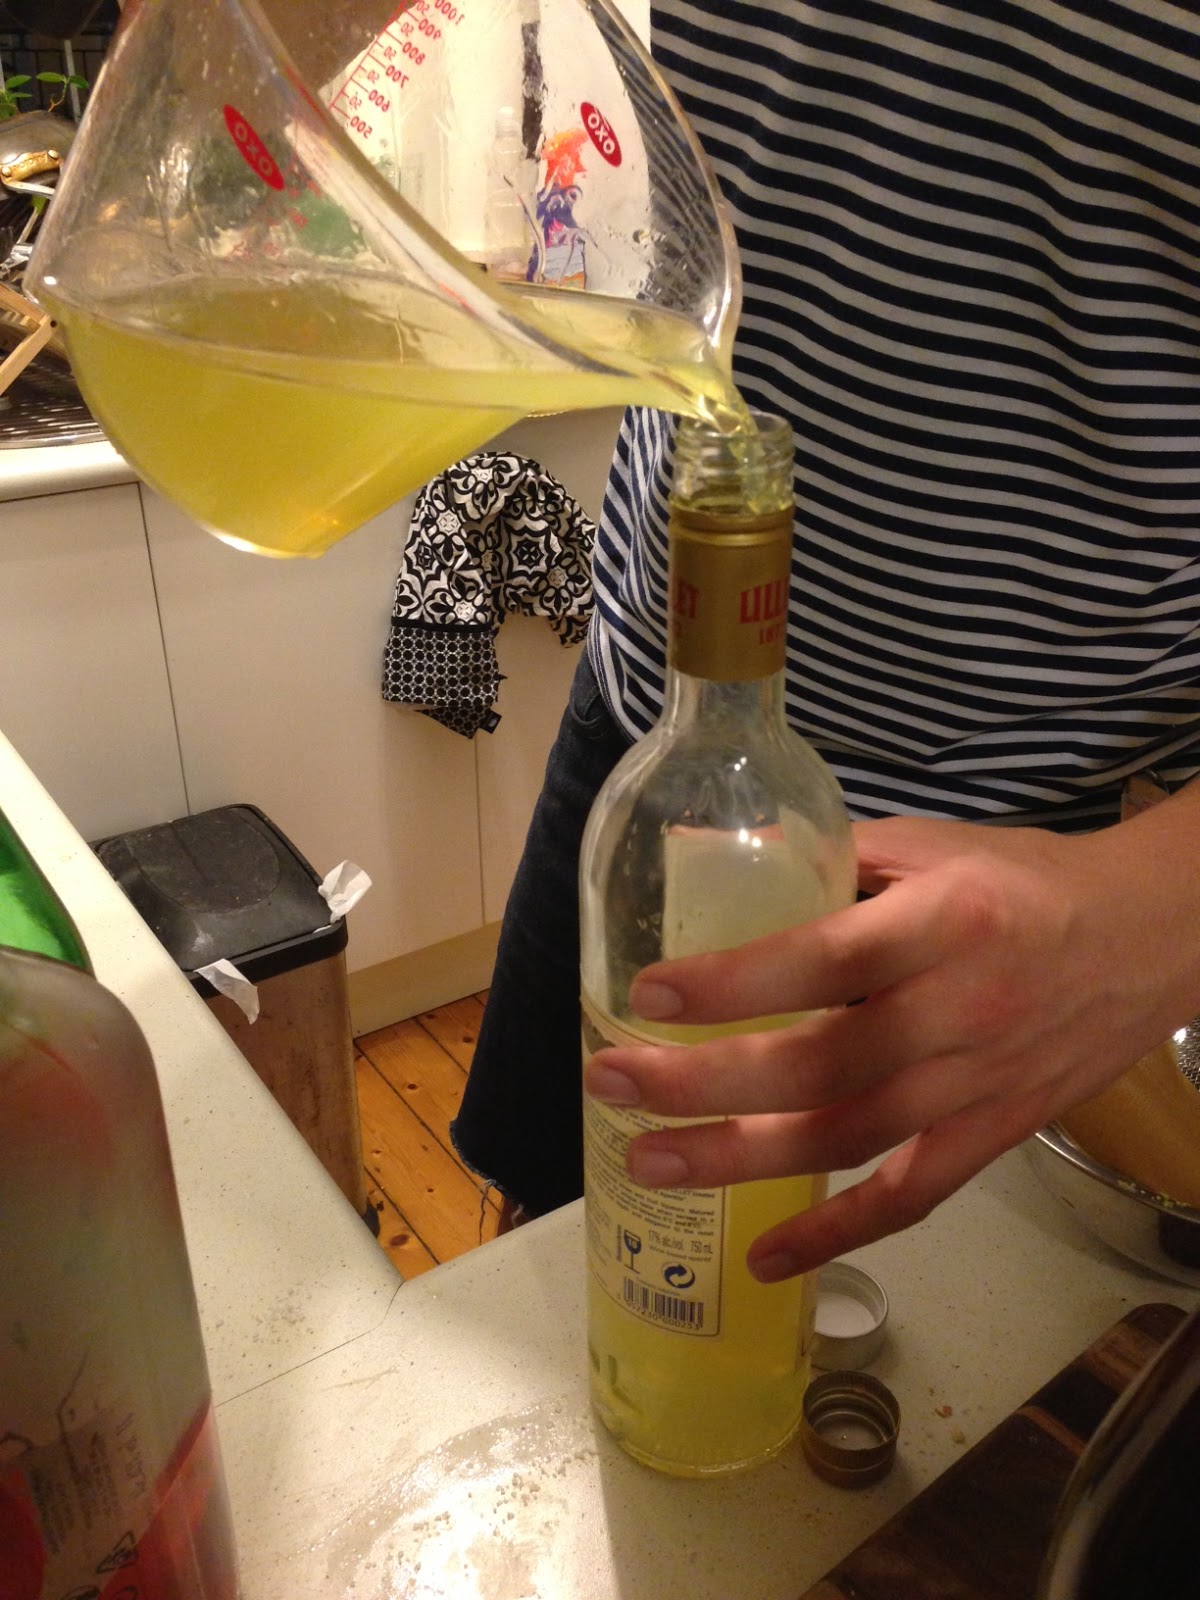
  7. Finally pour the sugar syrup into the alcohol and then pour the final limoncello mix carefully into bottles.
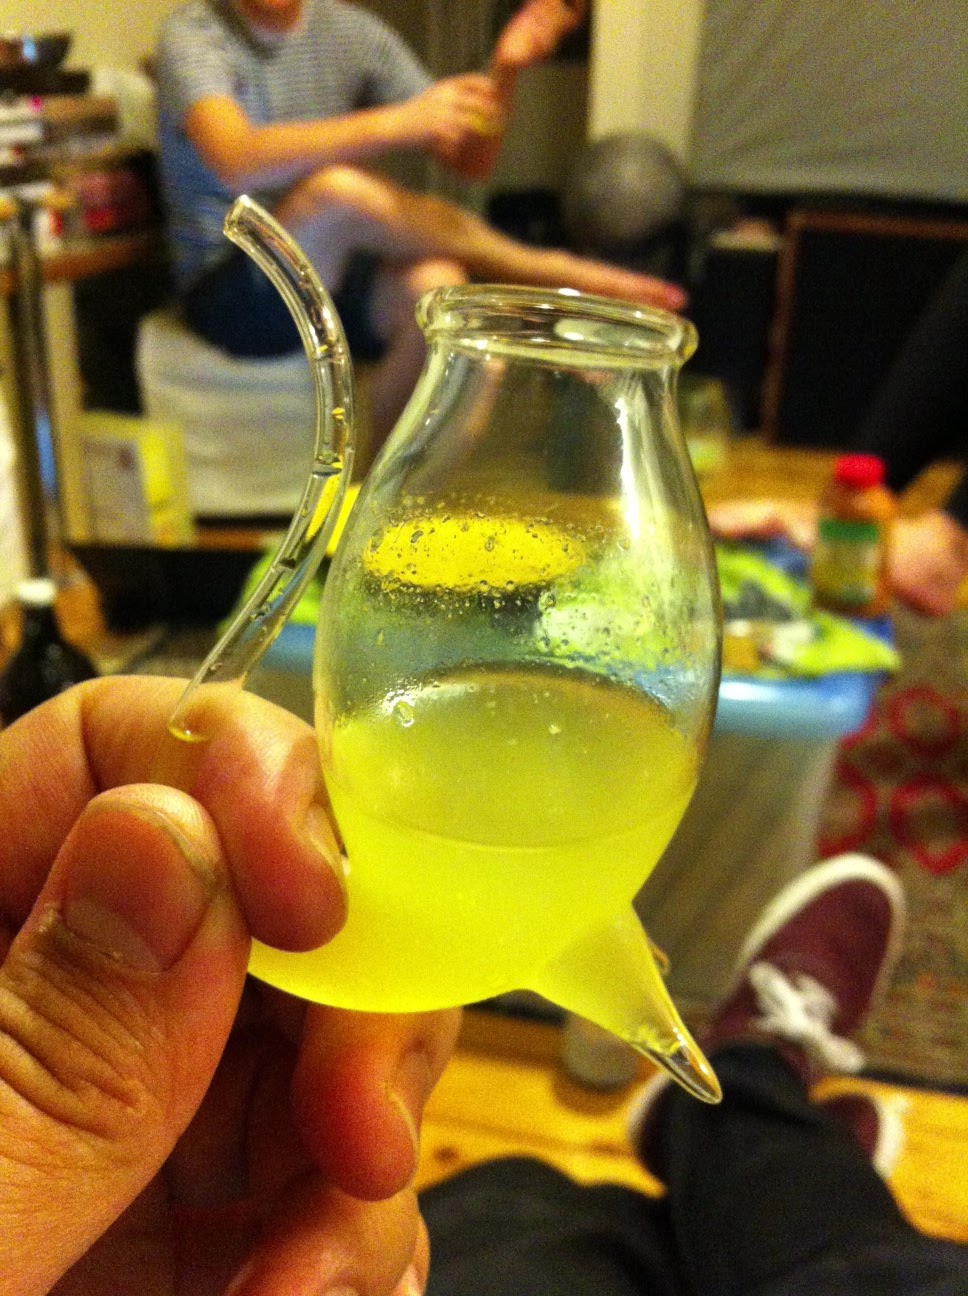
We drank the Limoncello from these snazzy port sippers.  Apologies to the port drinkers.

Note:  Drink responsibly.  Avoid heavy machinery.  Jarhead does not condone the improper use of lemons and limes as described above.  

Tuesday, 11 June 2013

Preserved Lemons and a Slow Cooker Lamb Tagine


A few weeks ago, I purchased Jerusalem by Yotam Ottolenghi and Sami Tamimi.   I had been watching Ottolenghi's Mediterranean Feast on SBS and enjoyed it so much that I jumped online and got a copy of his book.  I loved reading about and watching Ottolenghi cook so many vibrant Middle Eastern dishes, using spices that I've rarely cooked with, and some ingredients that I hadn't heard of before.  


One of these ingredients that hasn't really been on my radar is preserved lemon.  Preserved lemon is a major ingredient in Middle Eastern cuisine, and is really quite simple to make.

Having researched a few cook books and online recipes for preserved lemons, I found that the majority of recipes simply used salt and lemons, and submerged the lemons in extra juice.  But I did come across another recipe that actually covered the lemons in boiling water instead.   

As I didn't have enough lemons to top it off with juice,  I decided to go with the boiling water method.  

I wasn't quite sure whether it would work out, but after leaving them in the jar for a month, they turned out beautifully.  When I first cracked open the jar, the smell of lemon was really intense - preserving them just magnifies all the great aromas that you usually get from lemon rind.

I was keen to try my new batch of preserved lemons in a middle eastern dish, so I decided to make a lamb tagine in a slow cooker.  


Recipe for Preserved Lemons

Adapted from recipe on the SBS Website.

  • 8 lemons
  • Maldon sea salt
  • 4 dried chillis
  • 1 stick of cinnamon
  1. Cut each lemon from one pointy end of the lemon, to about 3 cms from the other pointy end, so that the two sides of the lemon still hold together.  Then cut it in the same way so they are essentially in quarters that are still held together at one end.  Check out the pictures to get a better idea.
  2. Stuff one tablespoon of sea salt into each lemon.  
  3. Next, cram all of your lemons into a jar that will fit all of them.  I had a 2 litre jar.  Also stuff in the chillies and cinnamon stick.  
  4. Then sprinkle an extra tablespoon of salt over the top for good measure, and then finally pour boiling water over the top of the lemons so they are submerged in the jar.  
  5. Leave in a cold dark place for one month.
Note:  The SBS recipe recommends to soak the lemons overnight in water to remove some of the bitterness.  I didn't actually do this, and when I used the lemons they weren't bitter at all, but I didn't really use the white pith or flesh of the lemons.  I'll try this next time...


Recipe for Vinnie's Slow Cooker Lamb Tagine

Ingredients
  • Finely chopped rind from half of a preserved lemon.
  • Two handfuls of cherry tomatoes.
  • 1 litre of chicken stock.
  • A 1kg lamb shoulder, deboned.
  • A handful of green, sicilian olives. (These are great because they're light in flavour so don't dominate).
  • 2 brown onions, finely chopped.
  • 4 cloves of garlic sliced.
  • A bunch of coriander.
  • A tablespoon of ground fennel seeds.
  • A tablespoon of ground cumin.
  • 2 teaspoons of turmeric.
  • 10 dried dates, chopped finely.
  • 2 tablespoons of paprika.
  • A thumb sized piece of ginger.
Method
  1. First, take your lamb shoulder, and brown it in your pot.  Make sure you get some nice caramelisation on all sides of the shoulder.  If you're using a slow cooker that doesn't have a browning function, do this in a frying pan.  Remove lamb shoulder from the pot and set aside.
  2. Heat some olive oil into the pot or slow cooker.  Fry the onion, garlic, ginger and finely chopped coriander stalks until the onions are translucent.
  3. Add all of the spices into the pot and fry off until aromatic.
  4. Next, add the browned lamb shoulder into the pot, followed by the chopped cherry tomatoes, the chicken stock, dates, olives and preserved lemon.  
  5. Slow cook your tagine for at least 5 hours, depending on your slow cooker instructions. 
  6. Serve with couscous or rice (or even, as I found later in the week, some beetroot gnocchi!)